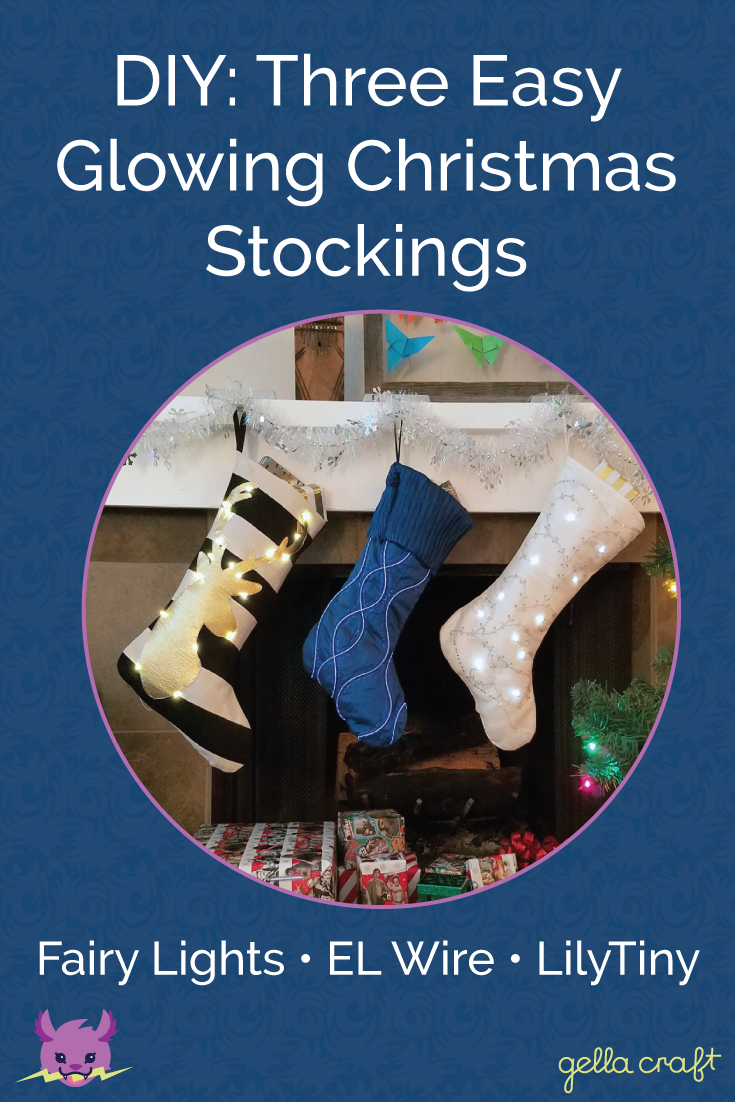
This weekend I crafted up a storm decorating my house with some glowing Christmas stockings. I saw these stockings as I was wandering through the Christmas aisles of Hobby Lobby a few weeks ago and immediately had some tech in mind to add to the designs. Here's a showcase of a few different ways to add some electronic sparkle and shine to your stockings with without any soldering! Read on for some progress shots and links to the full tutorials on Instructables.
Fairy Lights Stocking
The first stocking I created was super easy, using a string of fairy lights to trace a reindeer silhouette. Using invisible/clear thread to attach the string lights made it look like the stocking was purchased that way! The battery pack is hidden on the back of the stocking and kept in place with a little velcro.


Stitching the string of lights around the edge of the design.

EL Wire Stocking
The second stocking I built uses chasing EL wire, which is a fun EL wire that turns on and off strands within the casing to create an animated effect. I placed the EL wire along the lovely waves/curves of the embroidery. It was a little trickier than the fairy lights design, as I wanted to hide pieces of the wire so the one strand looked like multiple strands. Cutting holes in the stocking to thread the EL in and out of the lining worked great. I'm really happy with how this one turned out.
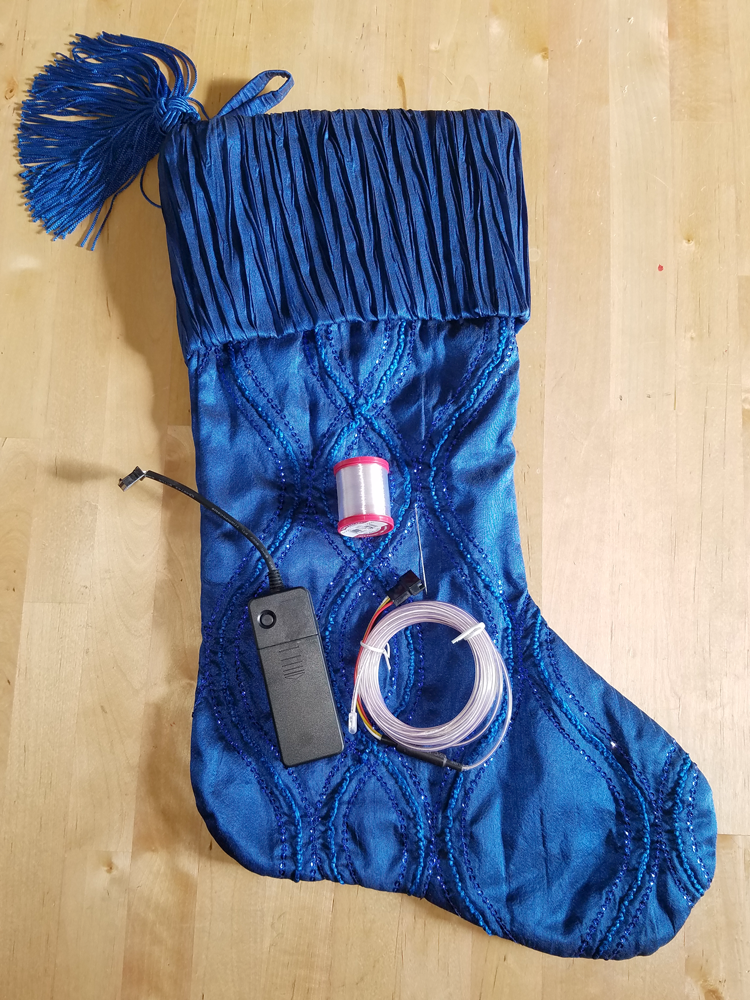

Pinning all the EL wire before stitching onto the fabric.

Threading the EL wire through the lining to hide sections of it.
LilyTiny Sparkling Stocking
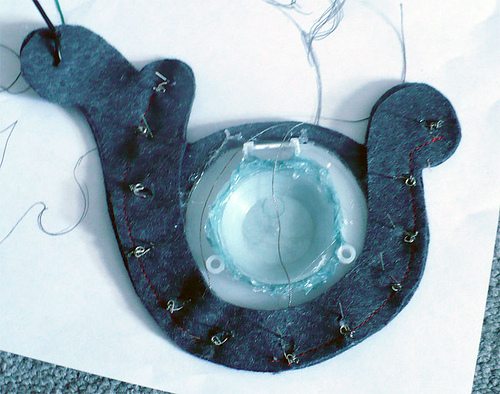
The last of the three involved a little more construction and time, but it is my favorite. This stocking has sewable electronics embedded directly onto the lining of the stocking using LilyPad pieces and conductive thread. I used a LilyPad LilyTiny, which comes with pre-set modes that will display on the LEDs hooked up to it. The beaded sequin design of this stocking was perfect for some white LEDs to shine and twinkle through.


Fritzing diagram for the hardware hookup.

Prototyping with LilyPad pieces before sewing into the projects. Alligator clips are a great way to quickly test your connections before committing to stitching.

Conductive thread connections.