Check out my post over on the SparkFun blog about how I built custom infinity mirrors into these wild wedge heels.
DIY: Gesture Controlled Star Wars Stockings
Earlier this month I found some adorable Star Wars Christmas stockings at Target and decided to augment them with some electronics to make them more interactive.
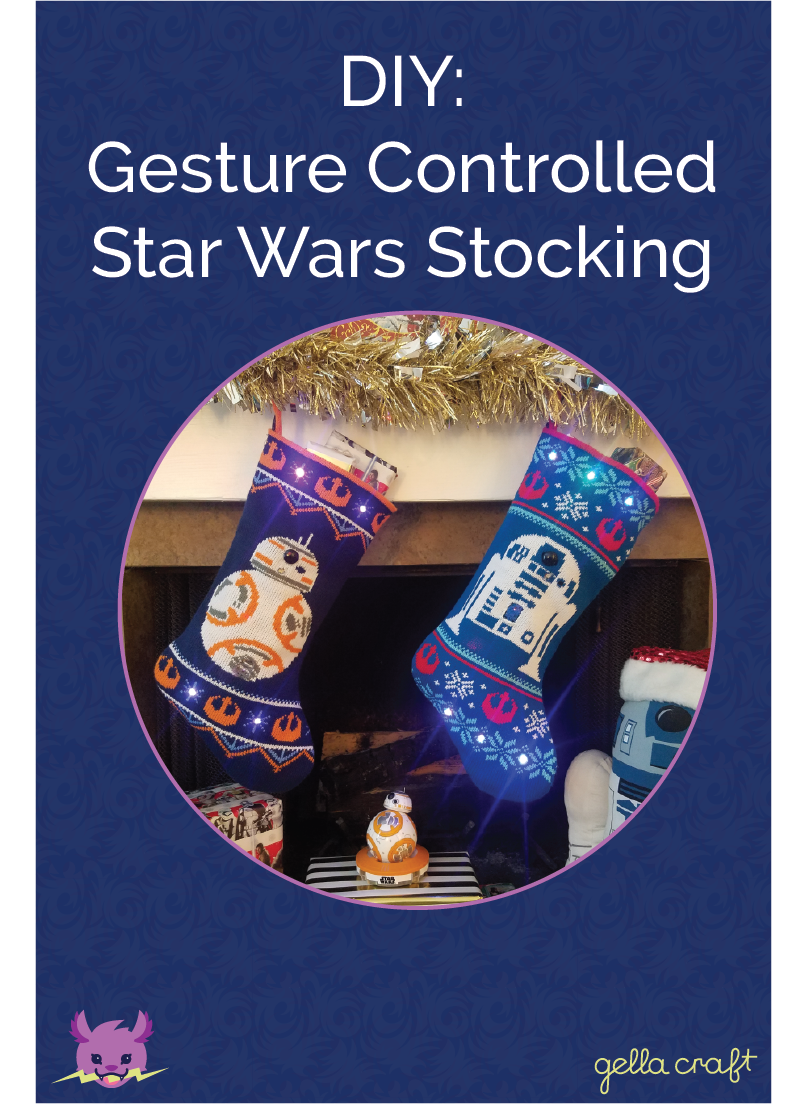
The Star Wars stockings hang by the chimney (of course!)
To activate them you must use the Force!
These augmented Christmas stockings play sound effects when you move your hands in front of them. Each recognizes four gestures - up, down, left, and right. Created with a LilyPad MP3 player, APDS-9960 gesture sensor, and NeoPixels connected with conductive thread so the circuit is embedded directly in the stocking. Programmed in Arduino.
This has turned out to be one of my favorite interactive fabric projects so far! Here are a few photos from my build, scroll down for a link to a full tutorial I've published on Instructables if you want to try building your own.


E-Textiles Projects for Halloween
I put together some ideas and downloadable designs to get you inspired this Halloween season over on SparkFun's blog.

Photo by Juan Pena
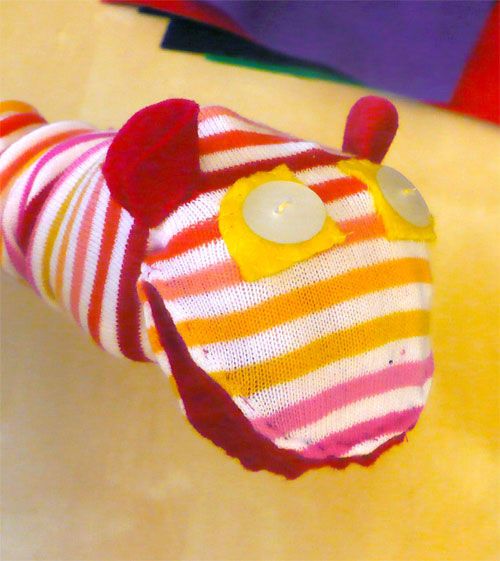
Project: ‘Talking’ Sock Puppet
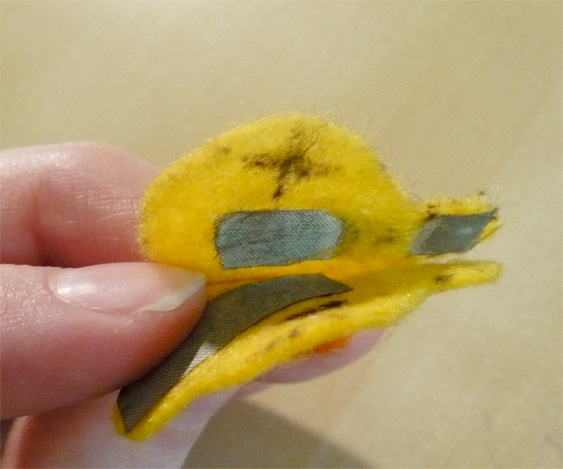
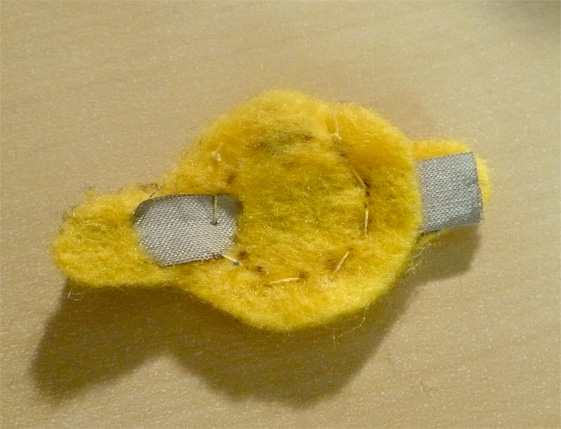
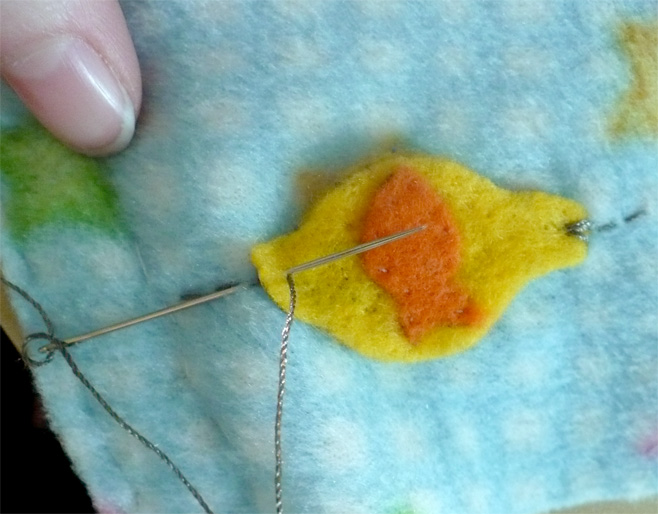
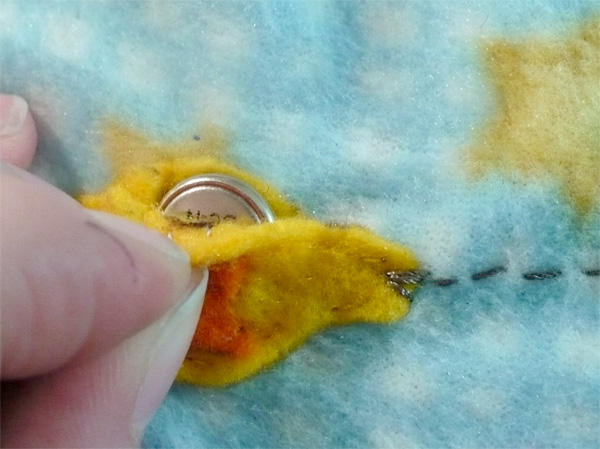
Today I made a sock puppet that makes sound when you open its mouth. I used one of those greeting cards that plays sounds when you open it, some felt, and plastic buttons. It was a quick project for a rainy day and is a great way to use up old cards. I’d like to make another version with a card that you can record your own sound into. It would be fun to place the record button in the puppet’s ear and maybe have some light up eyes too. Visit Make: Projects for the full tutorial.
Project: WiFi Sensing Bracelet Hack
Last week I found some WiFi Detecting Keychains on sale for $5 and decided they would make a fun weekend hack. I personally don’t like keychain gadgets, but they are great for incorporating into wearable projects because of how small and compact the circuit boards are. Here is a short video of it in action before I took it apart: http://www.flickr.com/apps/video/stewart.swf?v=71377
The LED at the bottom is red and only lights up when there is no signal. The row of LEDs above indicates signal strength. If you hold the button down an LED at the top acts as a flashlight.


After opening up the casing, I found that the board was nice and compact. At first I thought I would be able to desolder the LEDs and arrange them in a new configuration on a bracelet, but they ended up being too small for my current soldering set up and skill set. For now, I am just focusing incorporating the board and it’s current function into a wearable bracelet.

I soldered some wires to the battery terminals and switch so that I can create soft battery holders and a soft switch. Then I cut out a piece of neoprene with holes to embed the board and batteries in. This gives the bracelet a bit of cushion for the components and keeps everything at a consistent thickness. I placed some conductive fabric and thread to act as battery terminals, and sewed a simple pouch to hold them in place. Finally, some metal snaps connected to the batteries will act as a power switch so that it is only on when the bracelet is being worn.

Unfortunately, during my prototyping/experimenting process, I left the batteries in and one of the loose wires shorted out the board. However, I ordered a second keychain just in case I had any accidents, so I will be trying again soon. The dead board gives me an opportunity to try and get those tiny LEDs off and brainstorm a better design for the final version.
Project: Embedded Musical Toys
Today my partner and I were at a thrift store and found some great little electronic instruments in the toys section. Thrift stores are one of my favorite places to go for inspiration and great hackable finds. He was looking for some interesting sound-making objects to use in an album he’s creating with his band Winterstar for this year’s RPM Challenge and found this awesome keytar:
I fell in love with this little musical toy because of the LED matrix in the center. I love tearing apart toys and gadgets to play with them (I had fun using an RC car as the basis for my Tween Voodoo project).
Over on Instructables there are a couple cool little projects using toy pianos bykobakant. Hacking and reconstructing these toys for a new interaction is a great learning exercise – so I’m going to try it out for myself. I don’t do a lot with sound in my projects so I think it will be a fun exploration.

Wearable Piano Interface (via Instructables)
Though the guts of my toy are a little bulky for a wearable interface, I think it’d be interesting in a pillow or maybe even as part of aslipcover for our couch. Unfortunately I am without a soldering iron at the moment for the fun stuff, but in the meantime I am pulling this thing apart and watching Ask an Engineer Live Chat from Adafruit Industries.
Project: Temp Sensing Coffee / Tea Sleeve
Last weekend I came down with a bad cold, so no circuit projects for me. However drinking a ton of tea gave me some inspiration for this week’s experiment – a coffee cup sleeve that warns you when your drink is too hot. I don’t know how many times I have been burned by super-hot green tea, so here is my fun little solution to that problem.
I’ve been wanting to play around with sensors, and while surfing the net one day I came across Aniomagic’s Learning Sensors. They are nice little sewable sensors that come in a few different varieties. The temperature one caught my eye because it is self-contained and you don’t need to hook up any external microcontrollers to play around with it.

Aniomagic's Temperature Sensor (image via Aniomagic.com)
Aniomagic even has a cool tutorial for a temperature sensing coaster, which I ended up adapting for my coffee sleeve idea.
Aniomagic's Smart Coaster Project (image via Aniomagic.com)
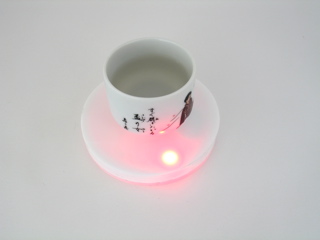
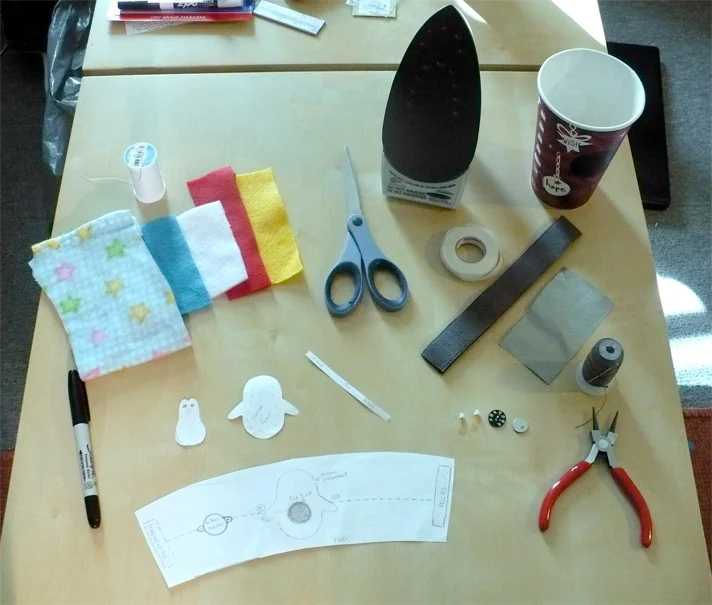
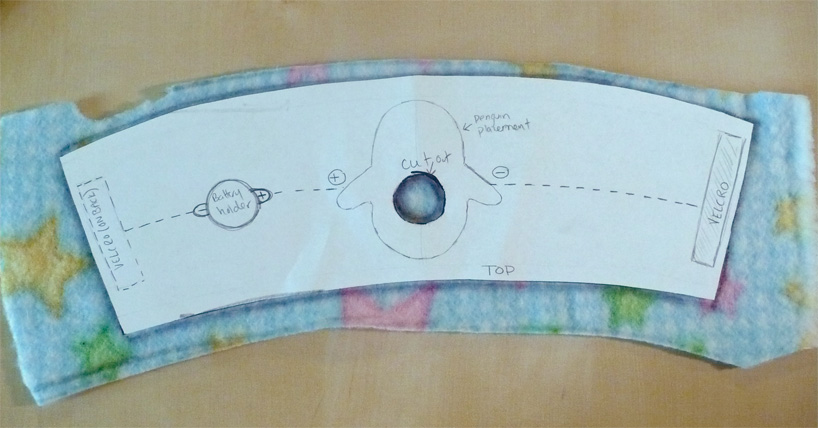
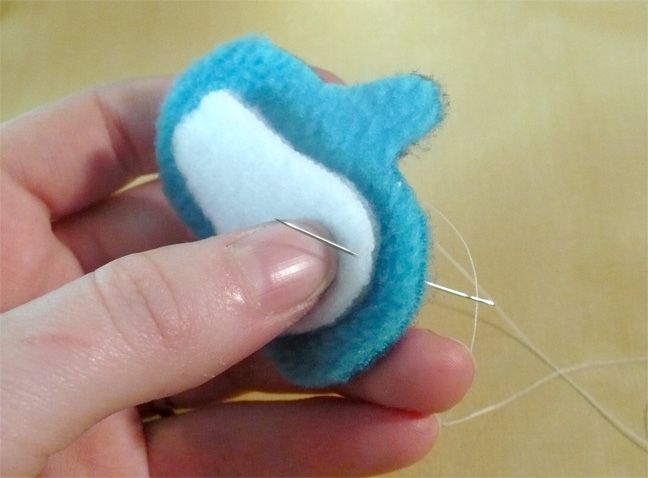
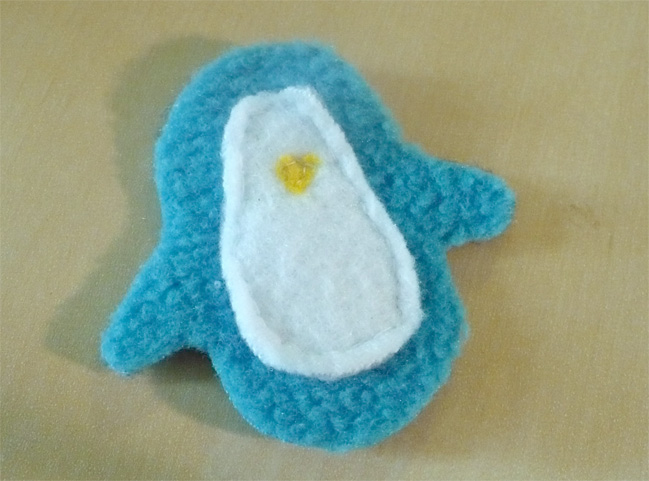
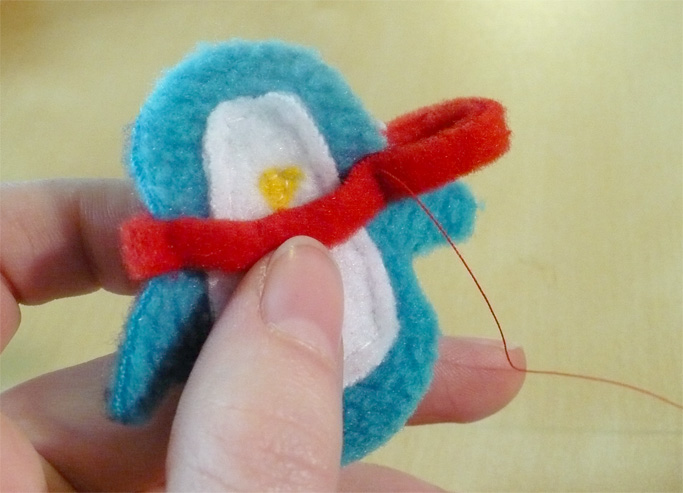
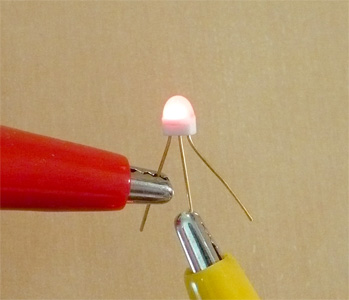
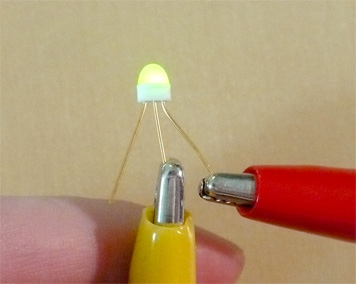
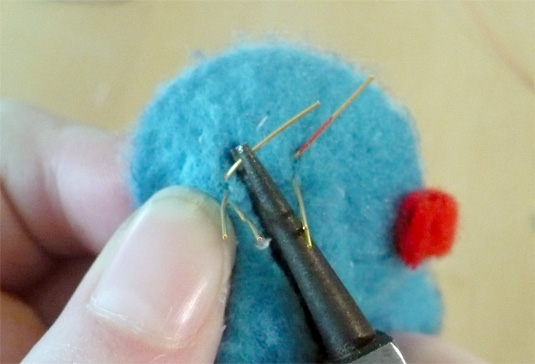
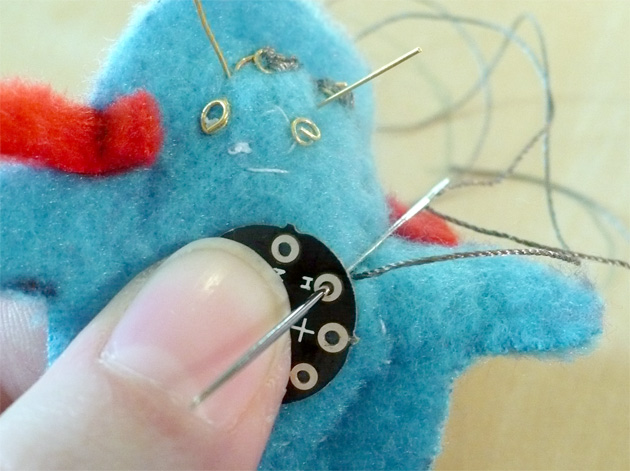
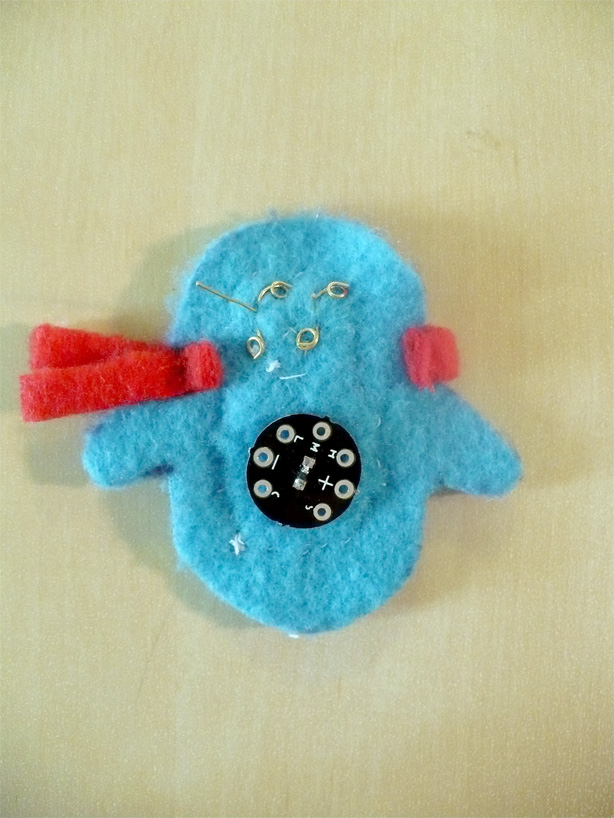
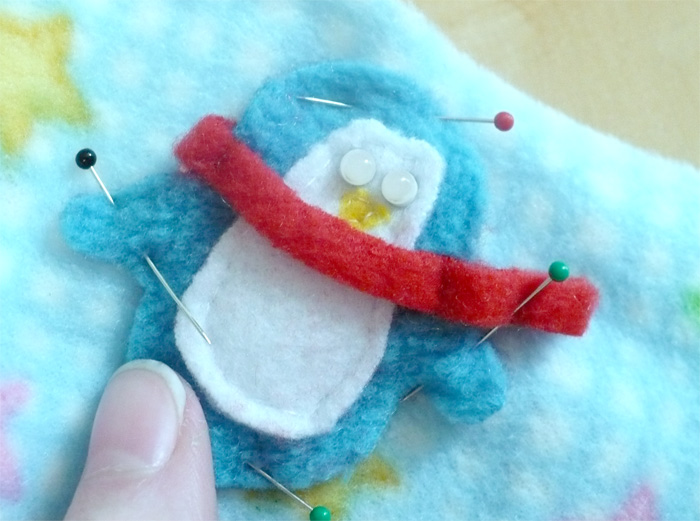
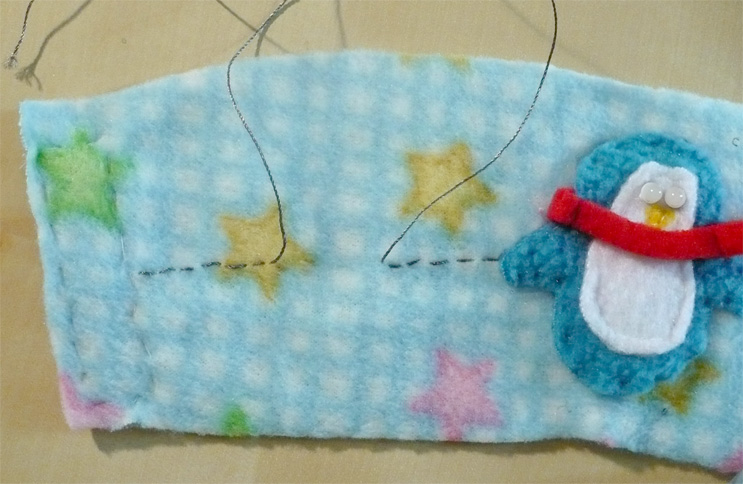
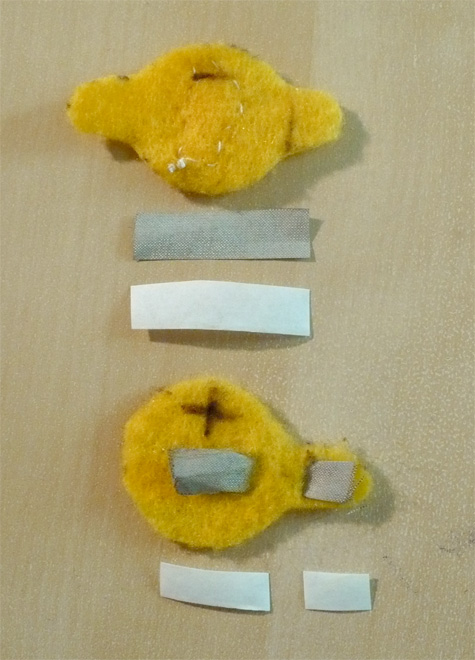
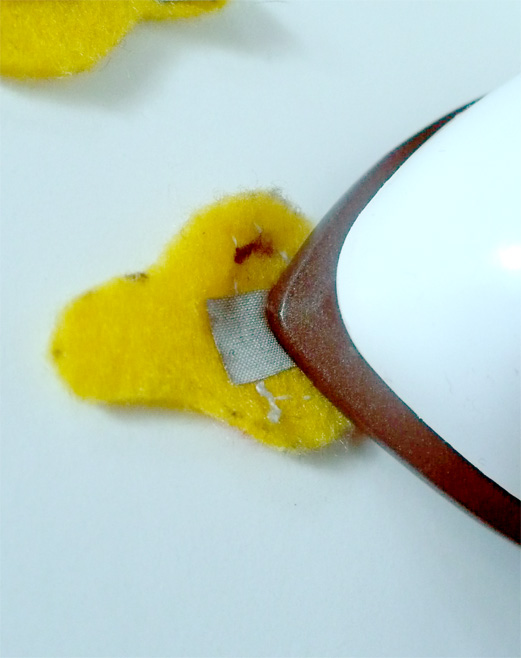
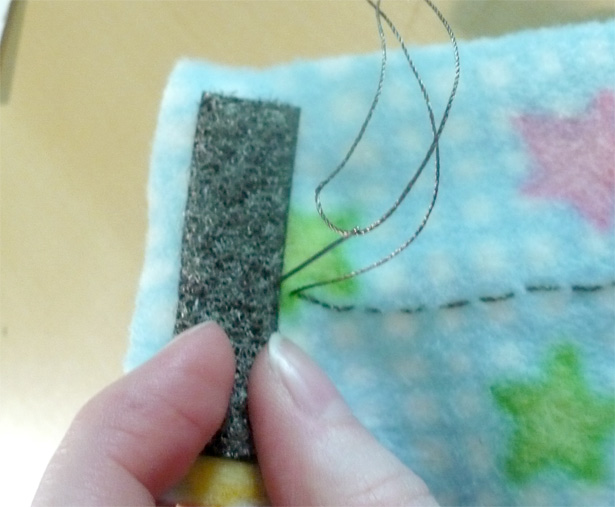
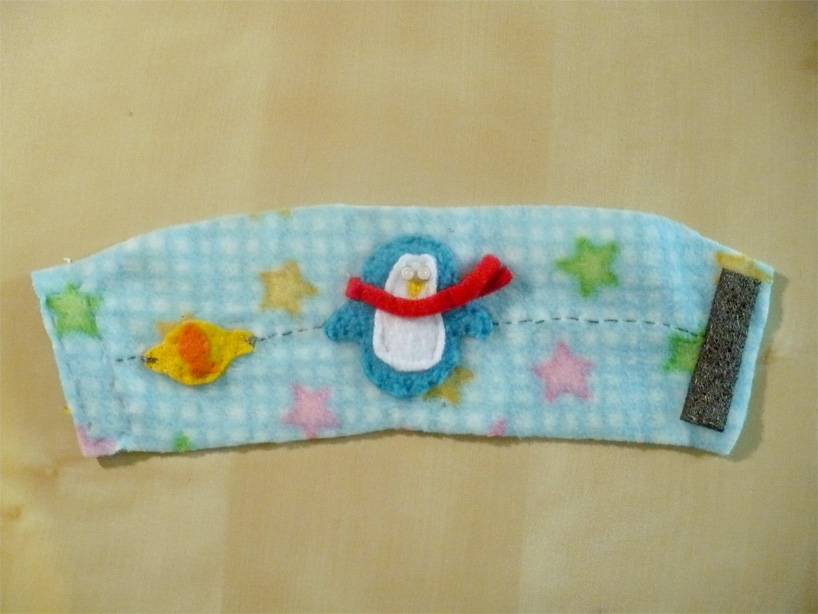
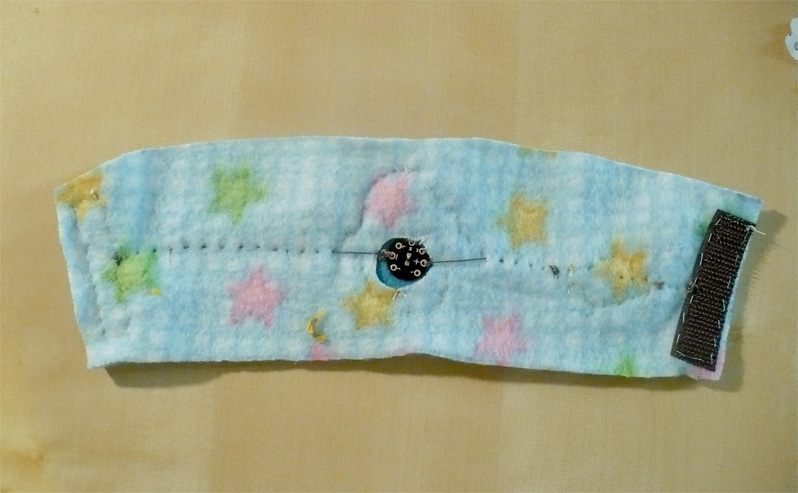
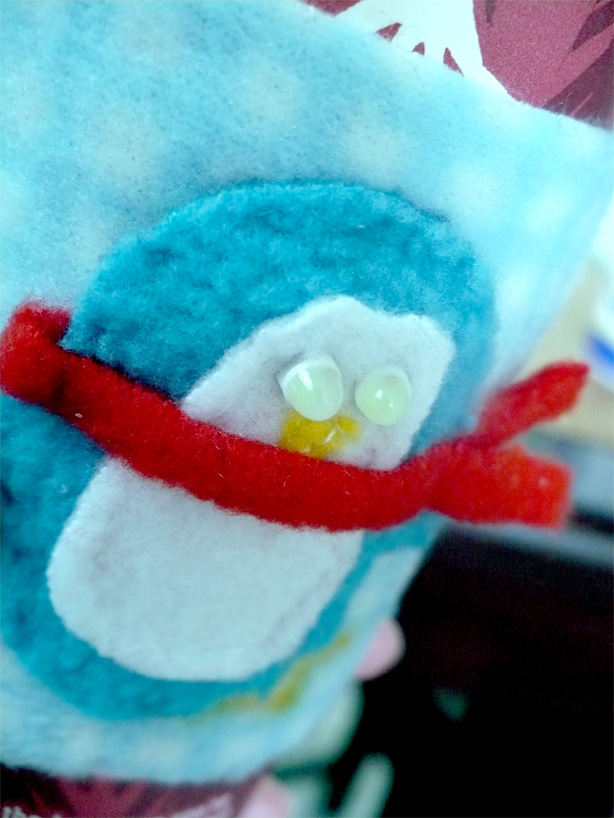
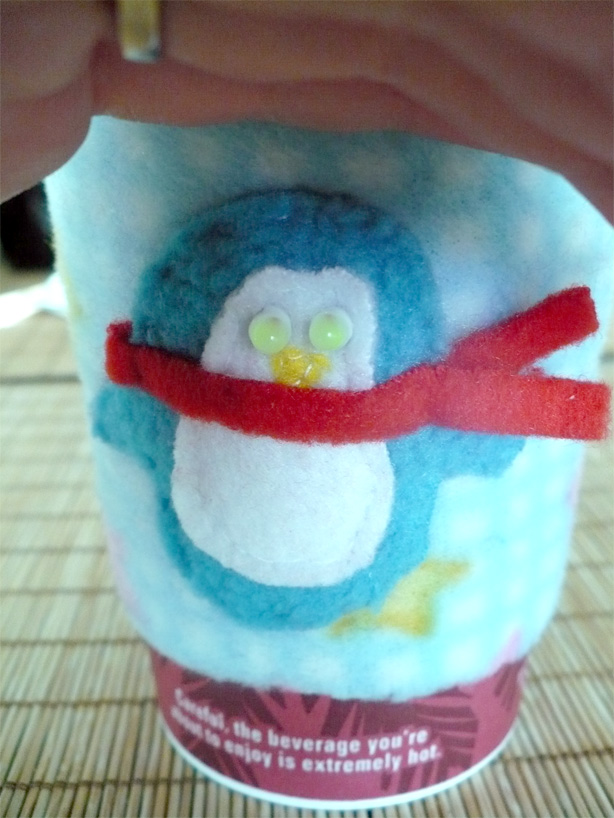
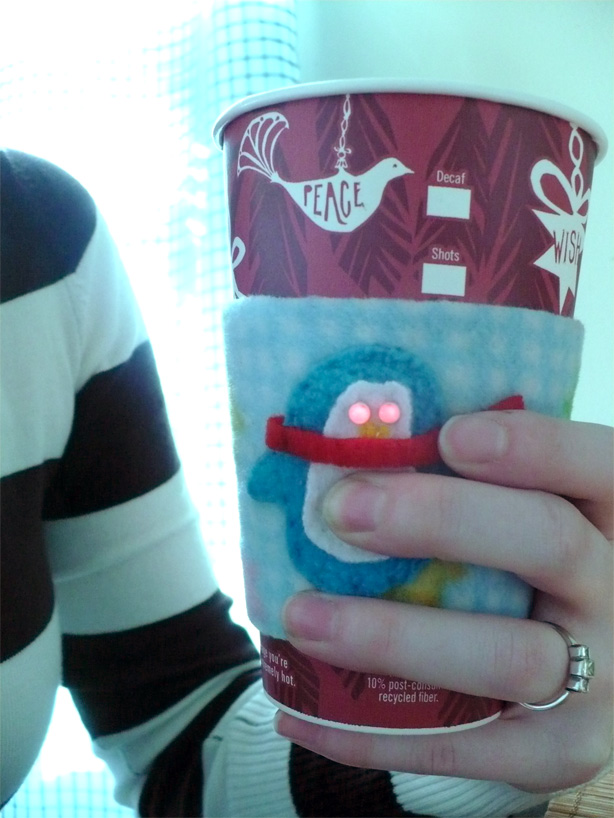
For my project I used my favorite little bipolar LEDs from Electronic Goldmine as the eyes for a fleece Penguin. The temperature sensor is hidden behind his belly and lights the LEDs red if the temperature is higher than my calibrated preference, and green when it is ‘just right’. Once the temperature drops lower than my preference, the LEDs turn off. There is a 3rd output that I could have hooked additional LEDs to, but I liked the simple red/green communication as I am more concerned with the higher temps than my beverage being too cold.
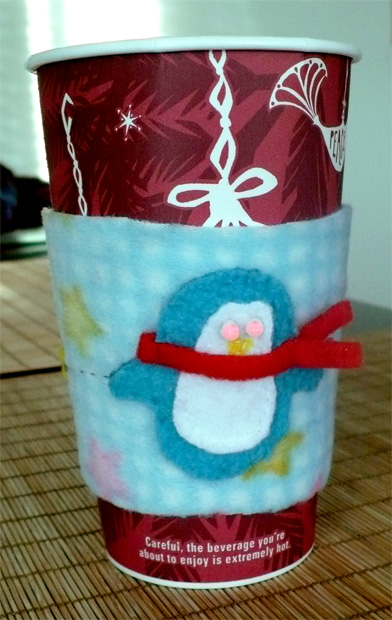
This was a fun little project to wire up and I’m happy with the design. After testing it I found that the sensor needed to be pressed right up against the cup or it lost the reading, this can be solved by placing your fingers right on the penguin to keep the tension. I tried it out on some green tea, and I think I’ll bring it along on my next visit to my local coffee shop and see how it does with different beverages.
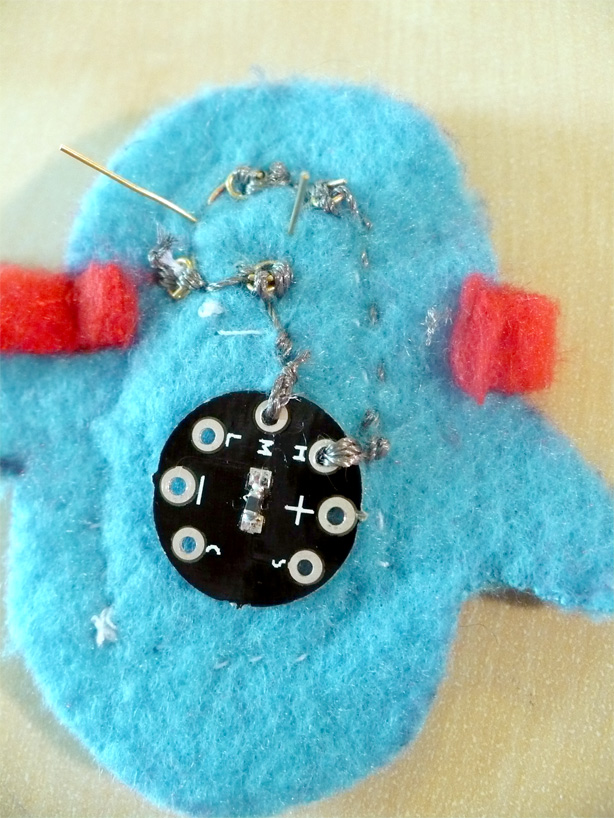
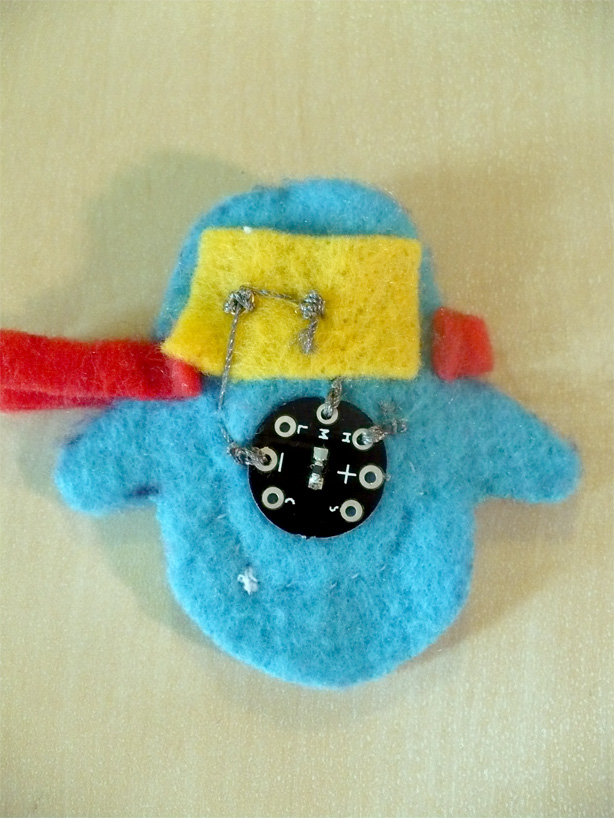
Check out some progress shots and details of construction below and on my Flickr account.


Project: Soft Circuit Business Card
Inspiration…
Last month I was brainstorming some redesign ideas for my website & branding and really got hooked on alternative/extreme business cards. I searched around to see if there were any electronic ones and here are some really cool projects I dug up:
Image by Tom Ward (via Instructables)
Tom Ward of LightBox Technology has made some Instructables for an autodialing card, flashlight card, and a dot matrix card.
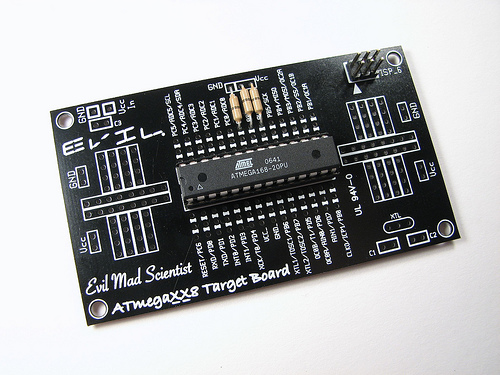
Image by Evil Mad Scientist Laboratories
Evil Mad Scientist Laboratories makes some nifty Business Card Breakout Boards.
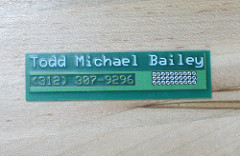
Image via Adafruit
Another great PCBbusiness card as posted on the Adafruit Industries Blog.
Results…
Tonight I sat down and played around with some felt I had hanging around and made a fabric ‘business card’ prototype. I used a CR1216 battery & holder I had left over from making LED bracelets awhile back, which I like because they are a lot smaller than CR2032s. I made little flower sequins out of bipolar LEDs and sewed them to a top layer of felt and then to some pushbuttons made with conductive fabric . The bottom felt is some really stiff stuff I got from the dollar storewhich makes a great cardstock-like backing for structure. The text on the front is my nickname; the design is how I used to sign my art projects when I was a teenager, so it’s a little fun piece of nostalgia. When you press the buttons, the LEDs light up, the right button makes red, the left makes green, and pressing both at the same time will make an orangey-yellow.

Check out some more images on my flickr page.